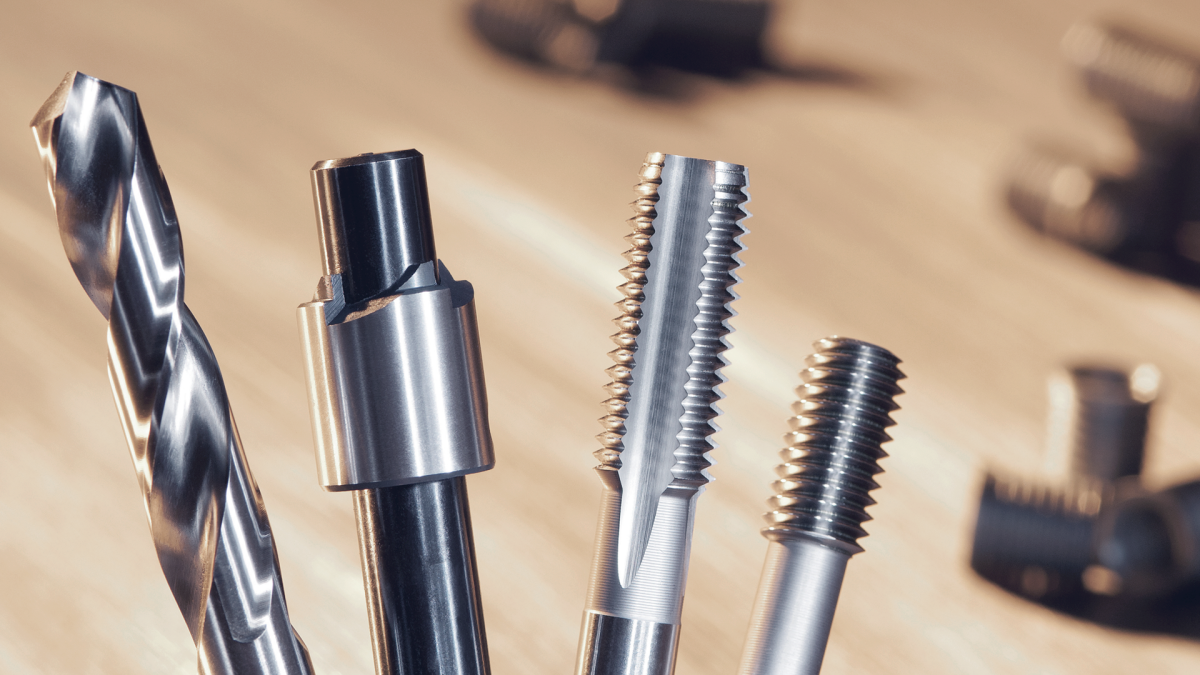
Helical inserts and self-tapping thread inserts
for thread reinforcement
Thread inserts can be used to create high-strength and resistant internal threads in materials with low shear strength (light metal alloys, aluminium, brass, plastic, etc.).
At a time when sustainable use of resources and reduction of energy consumption are playing an increasingly important role, the need for lightweight materials is becoming ever more apparent. In order to ensure high-strength and vibration-resistant screw connections, high-performance nut threads are essential - reinforced by threaded inserts.
Threaded inserts for thread repair
When repairing threads, damaged or worn threads can also be permanently repaired with the help of thread inserts, thereby resulting in economic benefits. Thread inserts can be used to reliably repair stripped, worn-out, seized or damaged threads.

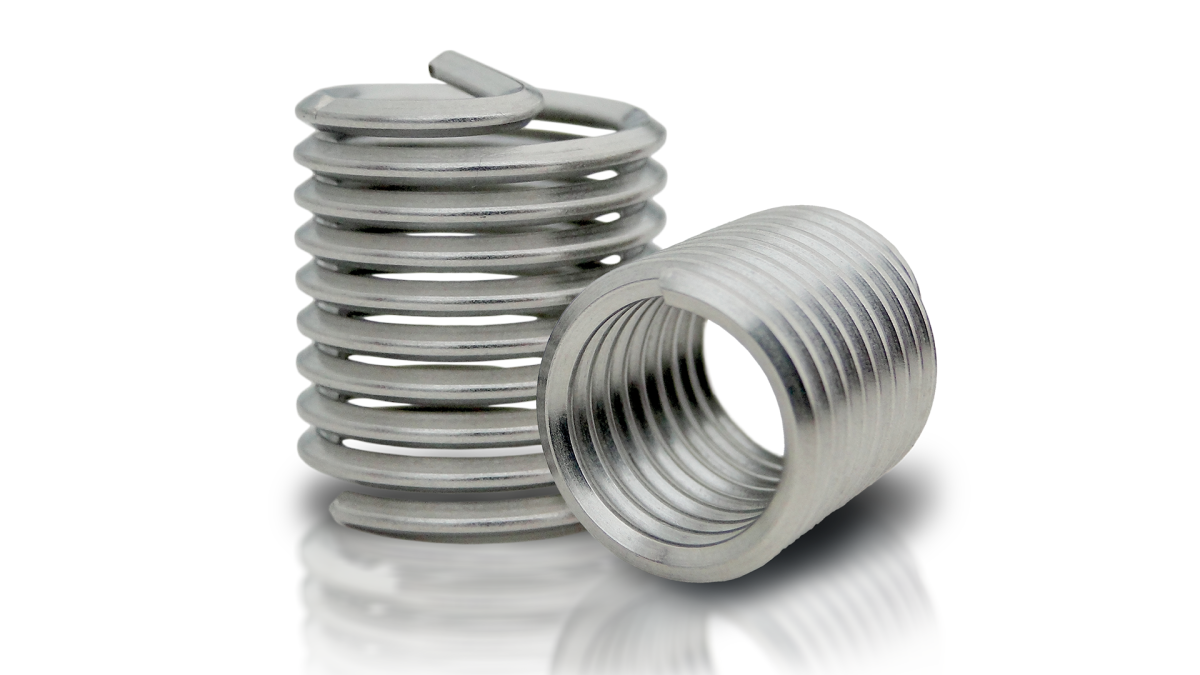
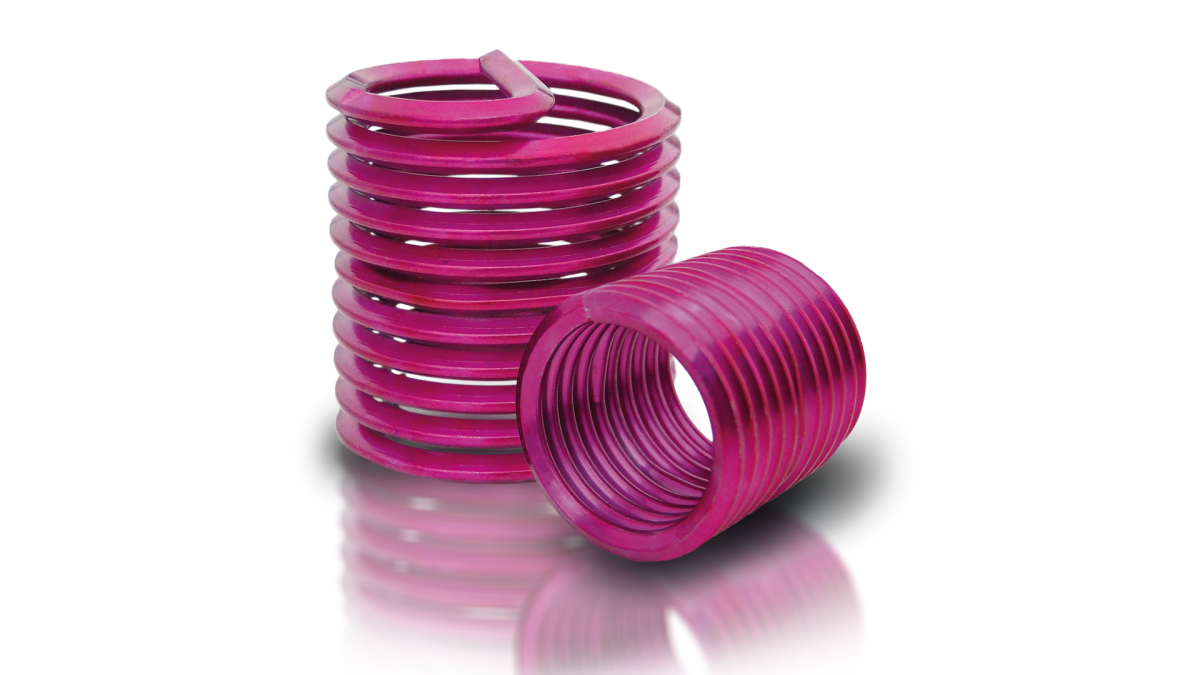
Helical inserts
With helical inserts, you create a threaded connection that cannot be surpassed by any other single screw connection when it comes to wear resistance, thread friction, surface quality, corrosion and heat resistance.
The helical inserts consist of a diamond-shaped wire that is moulded into a resilient spindle. The diamond shape results in a high degree of strain hardening in the material, which achieves a material tensile strength of at least 1400 N/mm².
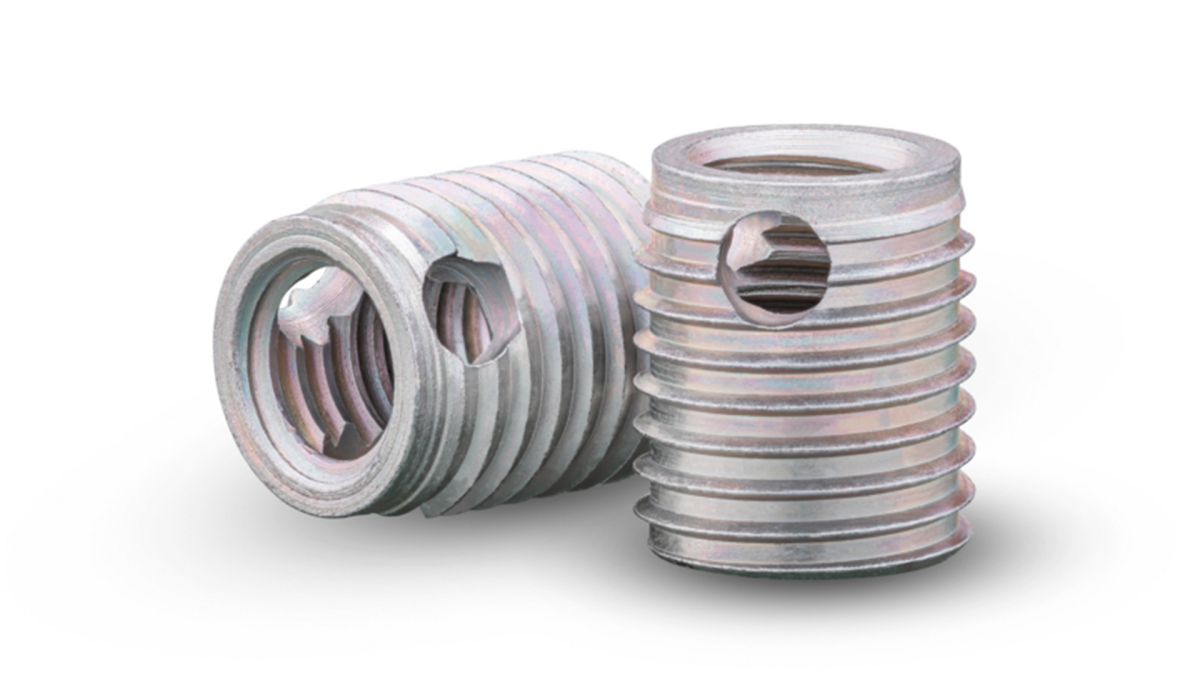
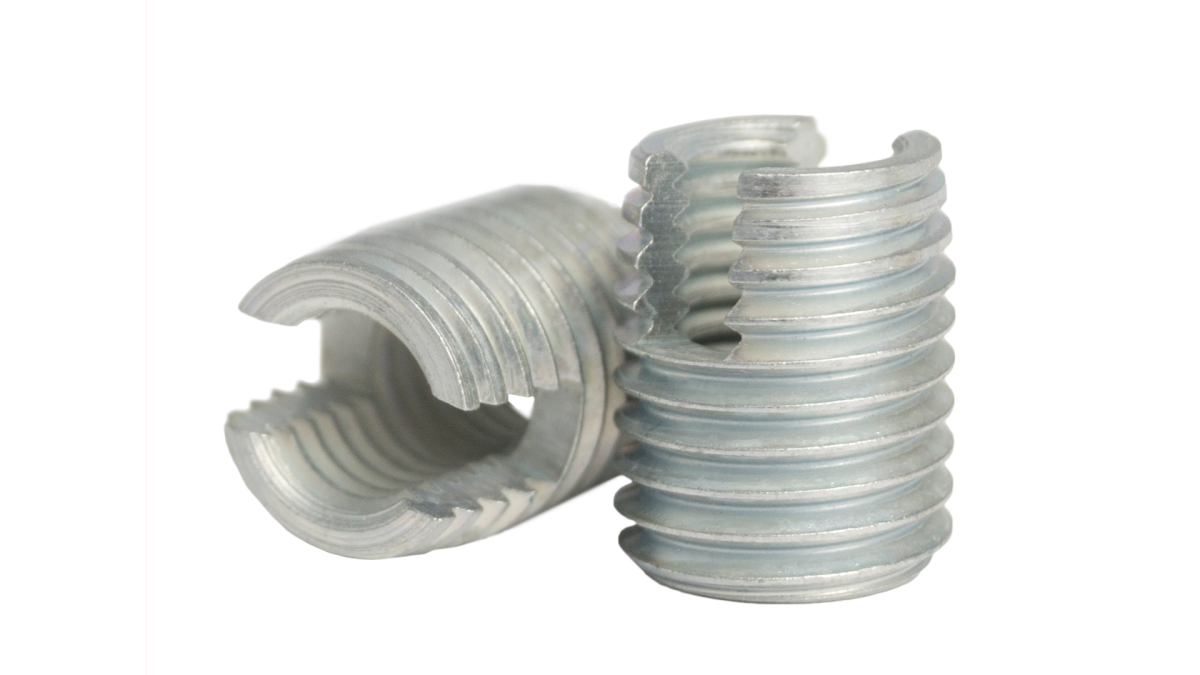
Self-tapping thread inserts
Self-tapping thread inserts are the time-saving option for thread repair and thread reinforcement. They cut their own holding thread when screwed into a mounting hole. This guarantees absolutely secure and firm anchorage in the mounting material.
The tight tolerances between the thread insert and the nut thread create a permanent anchorage that is resistant to shock and vibration in the work piece.
Areas of application and industries



Our in-house product series W.TEC® represents our carefully curated selection of products that stand out due to their excellent functionality and top class quality. Each product has been developed with the highest quality standards in order to meet the requirements of the industrial customers. This combination of precision and performance makes the products of our W.TEC® series price and performance champions.
You might find this interesting:
 Brochure - Thread inserts
- Other product brochures can be found in our Downloads
- Diverse technology knowledge on our Technology portal
FAQs on thread inserts
In which materials can the thread inserts be used?
- Aluminium and aluminium alloys
- Brass, bronze, cast iron
- Magnesium alloys
- Thermosets and thermoplastics
- Steel (helical inserts only)
What are the advantages of thread inserts?
- High load-bearing capacity of the thread
- Wear resistance
- Low and constant thread friction
- Even pressure distribution, highly resilient
- Corrosion and temperature resistant
- Saves weight, space and material
How are helical inserts fitted?
Thread inserts can be fitted in existing work pieces easily:
Step 1: Drill core hole
Create the drill hole with a suitable twist drill bit. Optionally, the drill hole can be countersunk with a tapered countersink.
Step 2: Create holding thread
Use the special screw tap to cut the holding thread into the hole. Screw taps are suitable for blind holes and through holes. It is recommended to use the cutting oil.
Alternatively, thread formers can be used to produce even more resilient holding threads by chipless forming of the mating material.
Step 3: Set the thread insert
Place the thread insert on the tool. Fix the adjusting ring so that the tang of the thread insert is in the centre of the groove. Screw the thread insert into the holding thread (by hand or by machine), while applying slight pressure, until it is 1/4 - 1/2 turns below the surface. Do not turn against the direction of rotation, as there is a risk of the tang breaking.
Step 4: Break the locking pin
Turn the installation tool back and by 90° so that it sits on the pin. Briefly tap the back of the tool. If available, remove the pin with a pin breaking tool. For larger dimensions ≥ M14, remove the pin using pointed pliers.
How are self-tapping thread inserts fitted?
Thread inserts can be fitted in existing work pieces easily:
Step 1: Drill
Drill out the old hole with a core drill. Countersink the hole with a tapered countersink, if necessary.
Step 2: Turn the thread insert onto the inserting tool
Turn the thread insert onto the screw-in tool with the cutting slots or cutting holes facing downwards and lock with the nut. An open-end spanner can be helpful here.
Step 3: Screw in the thread insert
Screw the self-tapping thread insert into the hole. The thread insert cuts its own holding thread.
The installation tool has a ¼" hexagon socket and can therefore be operated with a ratchet tool, nut or cordless screwdriver.
Step 4: Unscrew the inserting tool
Loosen the lock nut again with the open-end spanner and unscrew the inserting tool.
With the thread insert, the thread is now more wear-resistant, highly resilient and vibration-proof than the original thread.
The Würth Industrie Service GmbH & Co. KG collects and processes the personal data provided in the form in order to process the requested request for you. Please note the mandatory fields in the forms. The legal basis for this processing, the absolutely necessary data, is Art. 6 para. 1 lit. b DSGVO, implementation of a pre-contractual measure. The processing of data voluntarily provided by you is carried out on the basis of Art. 6 para. 1 lit. f DSGVO. Thereafter, processing is permissible which is necessary to safeguard our legitimate interests. Our legitimate interest is to have contact with you, our customers, to improve our consulting quality and to be able to contact you more easily in case of possible queries. The data collected will only be stored by us for as long as is necessary to process your enquiry and to contact you. They are then deleted.
Supplementary data protection information, in particular regarding your rights to information, correction, deletion, restriction of processing, objection and complaint, can be found in our data protection declaration.

